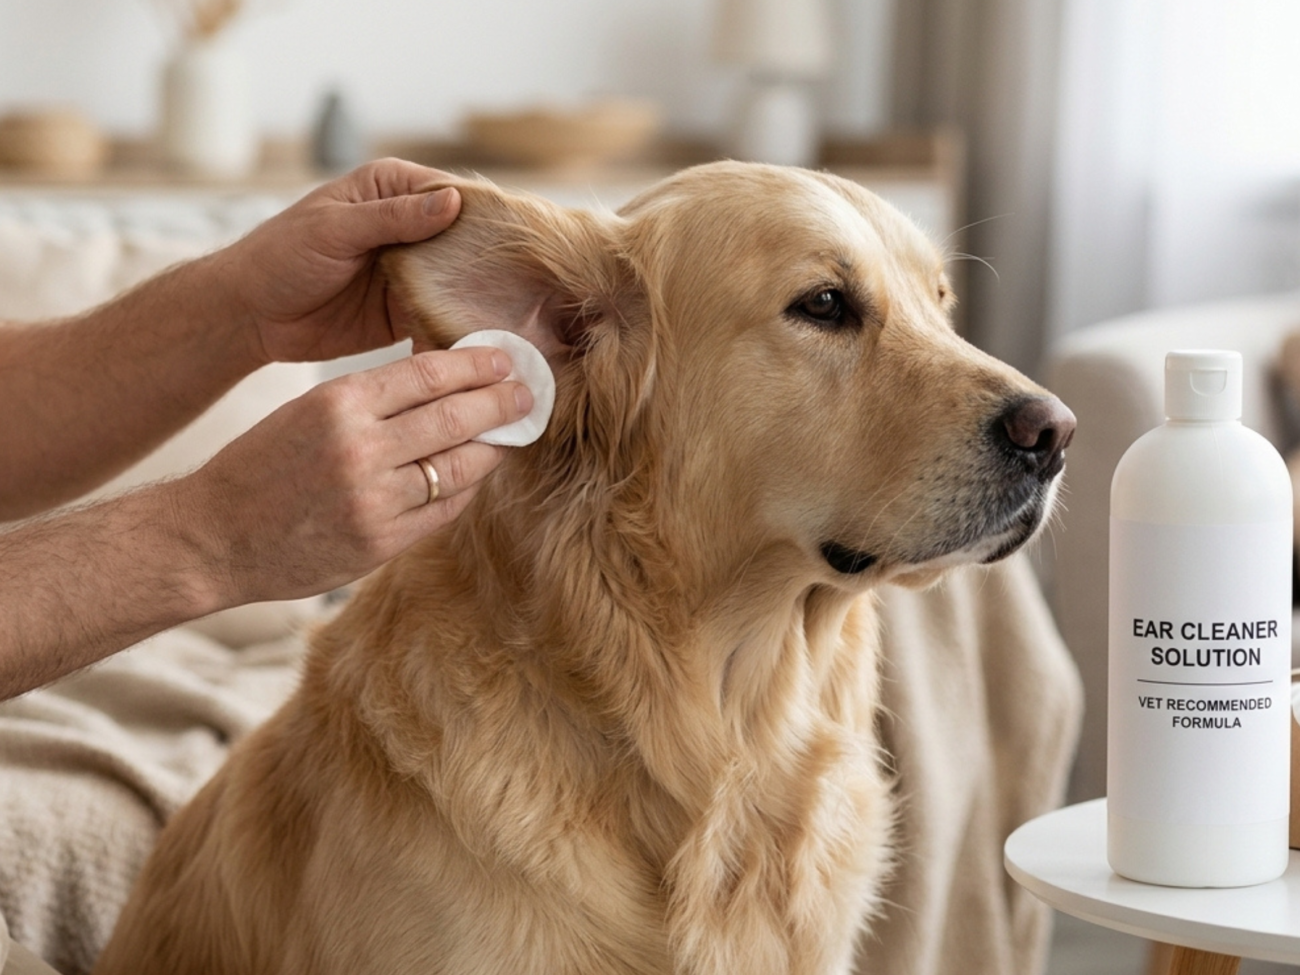
Mastering dog ear cleaning at home is one of the most critical hygiene habits every pet owner should learn. Because canine ear canals are shaped like an “L”, moisture, wax, and debris easily become trapped deep inside, creating the perfect environment for bacteria and yeast. Have you noticed your dog shaking their head or scratching at their ears recently?
In this guide, you will learn why routine dog ear cleaning is essential for preventing painful ear infections and how to perform it safely in 5 simple steps.
Table of Contents
Why Regular Dog Ear Cleaning Matters
Unlike humans, dogs cannot clear out excess moisture or buildup on their own. Breeds with long, floppy ears—such as Spaniels, Bassets, and Retrievers—are particularly susceptible to ear issues.
Regular dog ear cleaning removes buildup before it turns into a painful infection. However, over-cleaning can also cause irritation, so knowing when and how to clean is key to maintaining healthy ears.
5 Simple Steps for Safe Dog Ear Cleaning at Home
Step 1: Gather Your Cleaning Supplies
Before starting, gather a vet-approved ear cleaning solution, cotton balls or gauze pads, and plenty of high-value rewards. Avoid using Q-tips (cotton swabs), as they can push debris deeper into the ear canal or puncture the eardrum. Having tasty rewards ready—like our homemade healthy dog treats—helps make the experience positive.
Step 2: Position Your Dog Comfortably
Place your dog in a comfortable seated position. If your dog is anxious, gently hold them while offering reassuring praise. Keeping them relaxed ensures a smooth cleaning process. If your pet enjoys interactive walks, doing this after a relaxing sniffari for dogs can help them stay calm.
Step 3: Apply the Vet-Approved Ear Solution
Gently lift your dog’s ear flap to expose the ear canal. Squeeze the vet-recommended dog ear cleaning fluid directly into the ear canal without letting the tip of the bottle touch the ear itself (to prevent bacterial contamination).
Step 4: Massage the Base of the Ear
Gently massage the base of the ear for about 20 to 30 seconds. You should hear a squishing sound as the cleaning solution breaks down wax and debris inside the canal.
Step 5: Wipe Away Excess Solution and Reward
Allow your dog to shake their head—this naturally brings loosened debris out of the inner ear. Use a clean cotton ball to gently wipe away the wax from the outer ear flap and canal opening. Once finished, reward your pup immediately! For overall hygiene routines, read our complete guide on how often to bathe your dog.
Signs Your Dog Might Have an Ear Infection
According to veterinary experts at VCA Animal Hospitals, dog ear cleaning should only be done on healthy, uninfected ears. Contact your veterinarian immediately if you observe:
- Dark brown or yellow discharge
- Strong, foul odor coming from the ear canal
- Severe redness, swelling, or heat
- Whining or signs of pain when touching the head
Veterinary guidance on PetMD stresses that cleaning an already inflamed or infected ear can cause severe pain and worsen the condition.
Final Thoughts on Dog Ear Cleaning
Routine dog ear cleaning is a straightforward process that safeguards your pet from discomfort and costly vet visits. By checking their ears weekly and cleaning them as needed, you keep your furry companion happy, healthy, and infection-free!