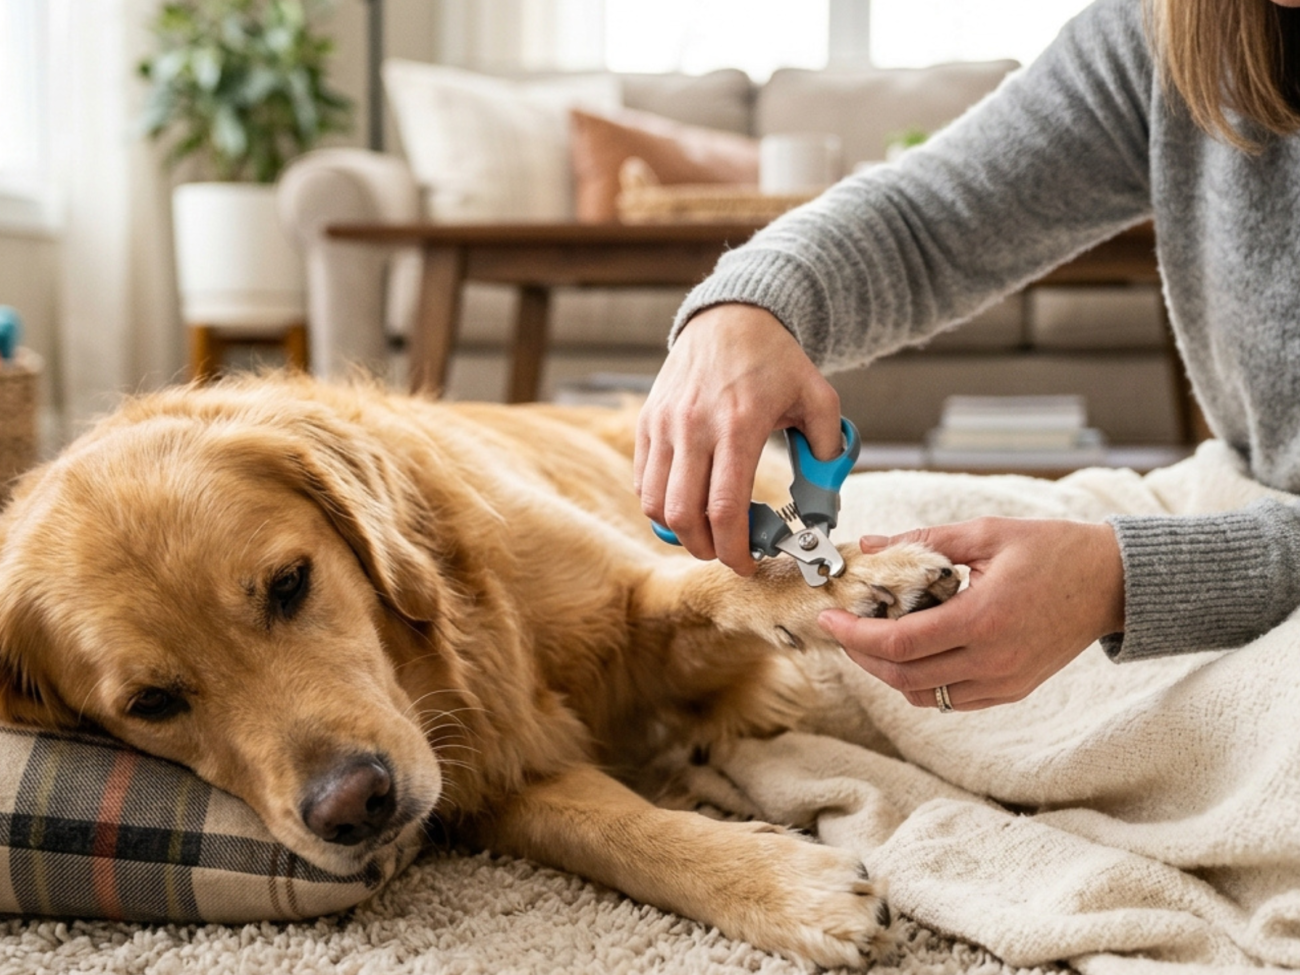
Learning proper dog nail trimming at home is an essential part of routine grooming that many pet parents find intimidating. Overgrown nails can cause significant discomfort, alter your dog’s posture, and even lead to painful joint issues or accidental tears. Do you hear a clicking sound on your hardwood floors every time your dog walks around? If so, it is time for a trim!
In this comprehensive guide, you will learn why consistent dog nail trimming is vital for overall paw health, how to avoid the sensitive internal blood vessel, and how to clip your dog’s nails safely in 5 stress-free steps.
Table of Contents
Why Regular Dog Nail Trimming Is Essential for Health
When a dog’s nails grow too long, they push back into the nail bed with every single step, creating constant pressure on the toes and leg joints. Over time, this discomfort forces your dog to compensate by shifting their weight backward, which alters their natural posture and can lead to long-term skeletal strain or early arthritis.
Furthermore, long nails are far more likely to split, snag on carpets, or tear off entirely during playtime, leading to painful infections that require veterinary care. According to veterinary health experts at PetMD, regular dog nail trimming keeps the internal blood vessel—known as the “quick”—receding toward the base of the nail. This makes ongoing maintenance much easier and keeps your pup walking comfortably.
5 Simple Steps for Stress-Free Dog Nail Trimming
Step 1: Gather the Right Tools and Treats
Before starting, choose high-quality clippers designed specifically for dogs or a gentle motor-driven nail grinder (Dremel). Always keep styptic powder or cornstarch nearby in case you accidentally cut too close to the quick. To create a positive association, keep plenty of high-value rewards on hand, such as our delicious homemade healthy dog treats.
Step 2: Desensitize Your Dog to Paw Handling
Many dogs are naturally protective of their paws and feet. Spend a few days before trimming gently touching, massaging, and holding your dog’s paws without using any tools. Reward them with treats immediately after every touch. Once your dog remains calm, introduce the sound and sight of the clippers near their paws.
Step 3: Identify the Quick Carefully
The quick contains sensitive blood vessels and nerve endings that can bleed and cause pain if cut. On light-colored or white nails, the quick is easy to spot as a distinct pink center inside the translucent nail. On dark or black nails, cut very small slivers at a time. Look at the freshly cut surface: once you see a chalky white ring with a dark center dot, stop immediately.
Step 4: Trim Small Amounts at a 45-Degree Angle
Hold your dog’s paw firmly but gently in your hand. Position the clippers at a 45-degree angle, following the natural downward curve of the nail. Take off tiny portions rather than attempting to cut off a large piece all at once. If your dog is energetic, schedule your grooming session right after an enriching outdoor walk—like a relaxing sniffari for dogs—when they are naturally tired and relaxed.
Step 5: Reward and Keep Sessions Short
You do not need to trim all four paws in one sitting! Trim just a few nails at a time if your dog shows signs of stress. Always end every grooming session on a high, enthusiastic note with praise and a favorite treat to build long-term confidence.
How Often Should You Trim Your Dog’s Nails?
On average, most dogs require dog nail trimming every 3 to 4 weeks to maintain optimal nail length. Active dogs that walk frequently on rough outdoor concrete surfaces may naturally file down their nails, requiring less frequent maintenance. Conversely, indoor dogs or small apartment dogs need more frequent care to prevent overgrowth.
Final Thoughts on Dog Nail Trimming
Mastering dog nail trimming requires patience, consistency, and plenty of positive reinforcement. By taking small steps, using proper technique, and keeping every session rewarding, you can make paw care a comfortable, routine experience for both you and your dog!